[Shopify Logistics Setup] How to Set Up SF Express on Shopify
Why Connect Shopify with SF Express?
SF Express’s nationwide logistics network and efficient delivery service significantly reduce the time it takes for products to reach customers, ensuring timely delivery of every package and improving overall customer satisfaction. After connecting Shopify with SF Express, you can generate SF Express waybills directly in your Shopify backend and automatically synchronize order information. Additionally, SF Express’s optimized route planning and batch shipping features will effectively improve logistics efficiency and help reduce operating costs.
ShipAny: The Application that Integrates Shopify and SF Express
ShipAny is a Hong Kong-based logistics application that integrates multiple mainstream logistics service providers, including SF Express, allowing you to easily manage all shipments on one platform. From automatic shipping quotes, submitting waybills, arranging pickups, printing waybills to tracking packages, ShipAny can automate everything, significantly improving work efficiency. Moreover, ShipAny’s shipping service is completely free – you only need to top up shipping fees to use it, with no monthly or handling fees. You can download the ShipAny application from the Hong Kong Shopify App Store to help your online store process daily shipments more efficiently using SF Express.
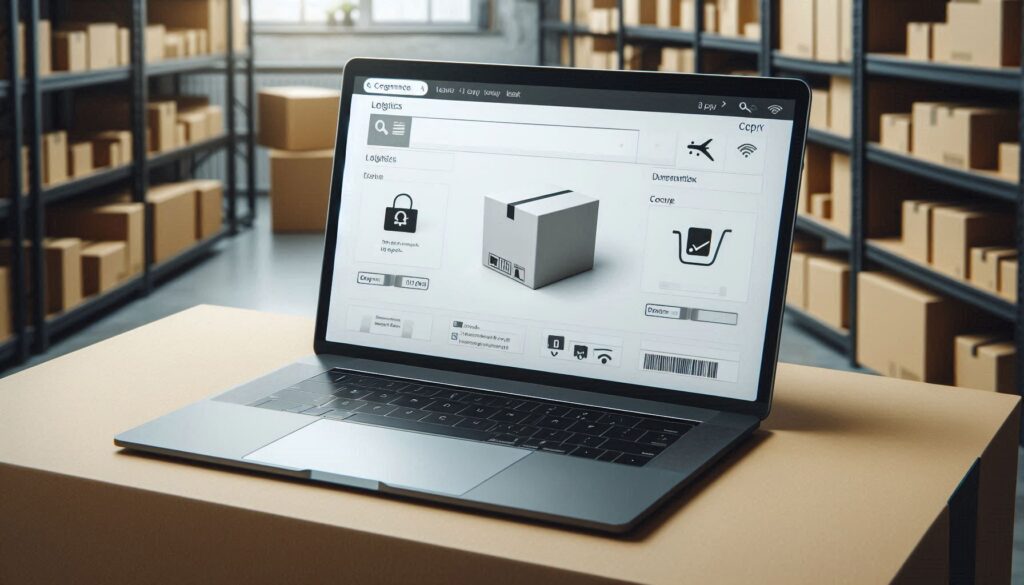
How to Use ShipAny, the Shopify SF Express Shipping Application?
Step 1: Install ShipAny from the Shopify App Store
- Log in to Shopify App Store and search for the ShipAny.
- Click “Add app”.
- Authorize ShipAny to access your Shopify store data and click “Install app”.
Step 2: Basic Setup in ShipAny Backend
- After installation, you’ll see the ShipAny app icon on your Shopify apps page. Click to enter.
- You’ll automatically enter the ShipAny backend.
- Register for a ShipAny account and enter the following information:
- Email address and password
- Company name, phone number, address, etc.
- Upload ID card or company BR certificate
- Fill in contact information and store URL
- Check the terms and conditions and submit
SF Express’s premium service combined with Shopify’s flexible configuration will bring a more efficient shipping experience to your online store. This article explains how to connect Shopify and SF Express to ensure smooth delivery of products to your customers.
Step 3: Configuration
- After connecting ShipAny and Shopify, find the “Ecommerce” option in the left menu of ShipAny and select “Shopify”.
- Choose connection type: Basic version is suitable for merchants operating only in Hong Kong, providing basic logistics functions; Advanced version offers more features like international logistics and custom logistics services.
- Set logistics matching mode: Select SF Express.
- Set payment method: Click “Default payment method when creating orders from Shopify” and select “Paid By Sender”.
- Set order status: The default order status is “Order Created”, and shipping fees will be automatically deducted from available funds. Select “Order Created”.
- Set product storage type: Generally select “Normal Room Temperature”.
- Set notifications: Select “Enable” to notify customers when the logistics company picks up their order.
- Set whether to display logistics company service points: Select “Enable” to show logistics company service points (like smart lockers, convenience stores, etc.) on the checkout page.
- Set pickup points: Choose whether to display pickup point options on the checkout page. Select “Enable” if customers can pick up at service points; select “Disable” if you have in-store pickup service without relying on pickup points.
- Set logistics service options: Choose whether to display all logistics service options on the checkout page. This option requires your store’s Shopify subscription plan to have carrier calculated shipping rates feature. If you haven’t subscribed to the relevant plan, please select “Disable”.
Step 4: Complete Setup
After completing the above steps, save the data, and ShipAny will be successfully connected to your Shopify store. You can view orders, generate waybills, and track logistics status in the ShipAny backend.
ShipAny One-Stop Logistics Service: Start Your Premium Logistics Journey
Want to take your online store business to the next level? Let ShipAny help you build an efficient logistics system and experience the convenience of smart logistics! Register now to use ShipAny’s delivery service and get your products delivered to customers faster and more securely!